> For the complete documentation index, see [llms.txt](https://docs.pollination.solutions/user-manual/llms.txt). Markdown versions of documentation pages are available by appending `.md` to page URLs; this page is available as [Markdown](https://docs.pollination.solutions/user-manual/revit-plugin/pollination-revit-classic/hands-on-tutorial/exporting-rooms-spaces-and-areas.md).
# Exporting Rooms, Spaces, and Areas
Once you select the windows and doors families, it is time to export the rooms, spaces, or areas as Pollination rooms.
{% hint style="info" %}
In this tutorial, we will use rooms as the geometry source, but the workflow will be the same for exporting Revit spaces or areas.
{% endhint %}
To start exporting Revit rooms, spaces, or areas as a Pollination snapshot, click on the `Export Rooms` button.
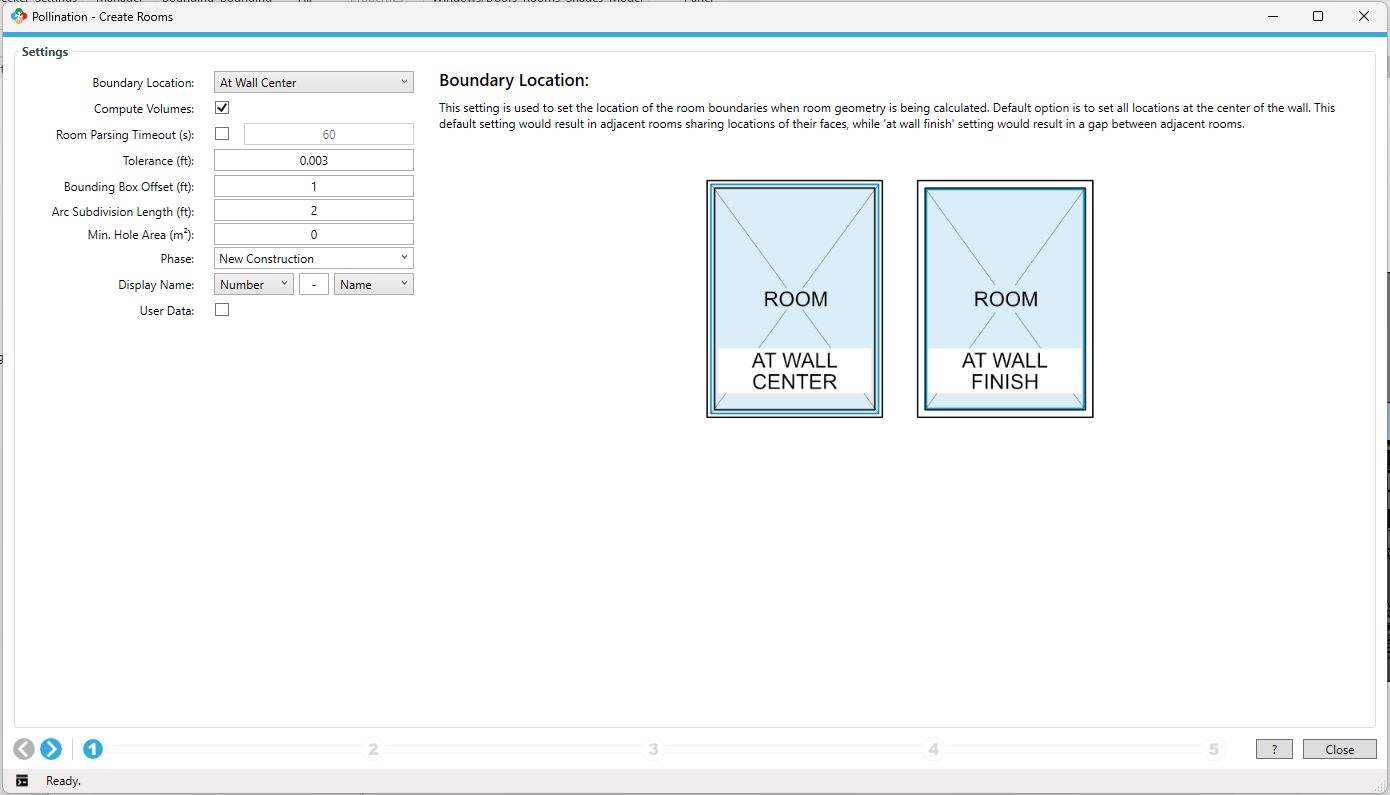
You should see a UI similar to the screenshot below. This UI walks you through the required steps for reviewing and exporting the rooms, spaces, or areas as a Pollination snapshot. Use the back and forward buttons on the bottom left to navigate the different steps.